Do you know this situation: You bring in the mail and browsing through it you sort it into categories like bills, trash, an interesting magazine I want to read later,… and so on. For me, this usually meant that I ended up with different stacks of paper on my bench or table. This did not look nice and also was not very practical.
So I decided to make myself a wooden magazine rack. I wanted it to have at least four shelves, and I wanted a modern design to fit with my dining table and bench.
Material:
- 4 mm Birch plywood
- 4 mm Clear acrylic
- Sandpaper (120 grit)
- Wood glue
Tools:
- Laser cutter
- Clamps
- Belt/disc sander (recommended)
Creating the design and modeling in Fusion 360
First I did some freehand sketching of different shapes. After I came up with a basic shape I liked, I started modeling in Fusion 360. In case you don’t know – Fusion 360 is a 3D modeling software, which is free to use for hobbyists. I am quite new to Fusion. I have done some beginner tutorials and played around with it, but the magazine rack was the first real project for me.
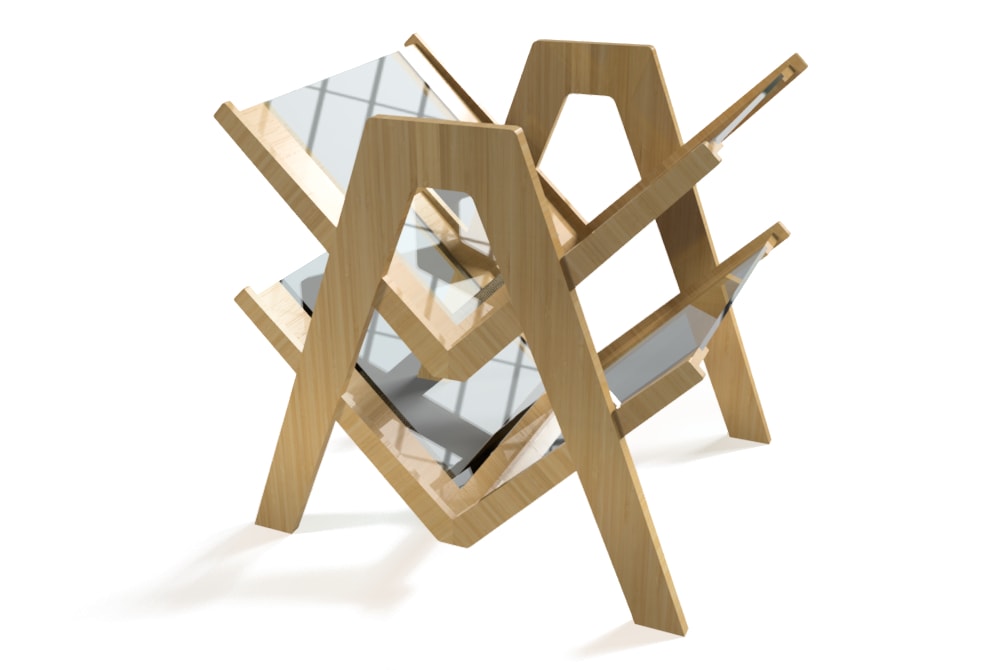
Below you can see a quick rendering of the final design. I decided to use acrylic as part of the shelves because I like the look of the wood combined with the transparent acrylic. Acrylic also has the advantage that it can be cut with a laser cutter and it is not as fragile as glass.
I really learned a lot during the making. At some parts, it was also a bit frustrating, like when I found out the hard way that it is not a good idea just to ignore the automatic Fusion 360 warnings. I had my model completely finished but when I wanted to rearrange the parts of the rack to create files for cutting, I ended up with multiple errors. I don’t want to bore you here with all the details but maybe I will later write a post about how to avoid my mistakes and save some hours.
Fusion file export and laser cutting
I want to share two tutorial with you, which I found very helpful for turning the 3D model into a vector file for laser cutting:
The first tutorial is about a nesting script. This script takes your parts from different locations and in different orientations and places them next to each other on a flat plane. It is not perfect because sometimes you can get overlapping parts and you still need to do some manual re-arranging but it is a huge time safer.
The second tutorial explains how to create DXF files with automatic kerf compensation in Fusion. I later imported the DXF files into Inkscape and turned them into SVG files.
When I finally had the file ready, I arranged all the parts on five 60 x 30 cm (24 x 12 in) sheets of birch plywood and cut them on the laser cutter. I choose the birch plywood because I like the look of it and it is also harder than for example poplar which gives more structural strength.
The total cost for the wood was about 14 € (16 $) and 17 € (19 $) for a 50 x 50 cm (20 x 20 in) sheet of acrylic.
Sorting and dry fitting of the parts
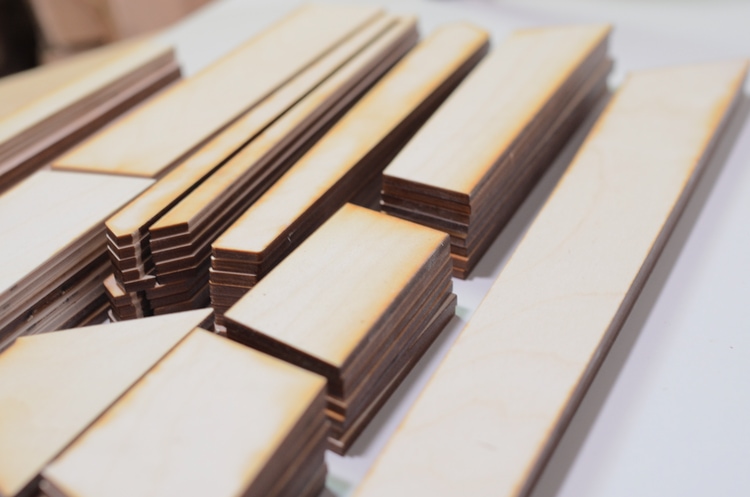
Once all the parts were laser cut, I sorted them and made stacks of similar parts. You can see the result in the image below.
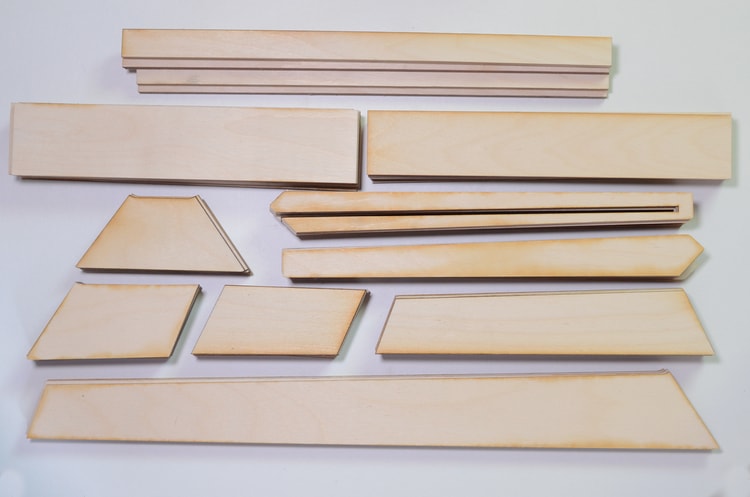
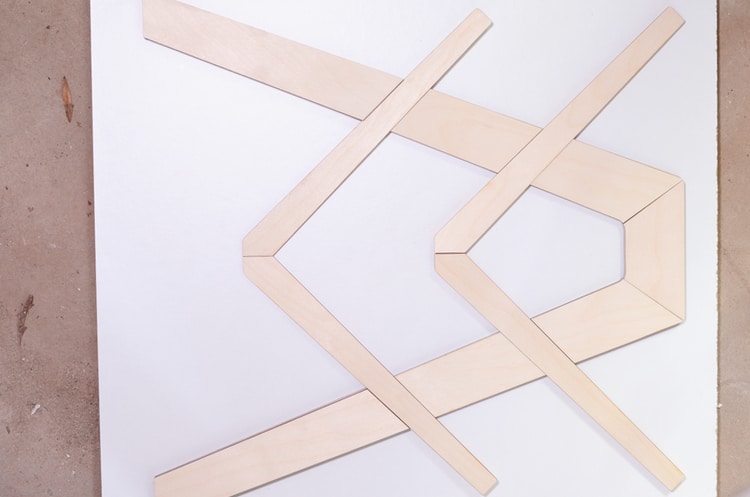
Next, it was time to do some dry fitting. I laid out all the parts to make sure that everything fitted together as planned. Luckily I did not discover any problems.
Preparing the parts for the frame
The magazine rack consists of four main parts: a front and a back frame and two shelves.
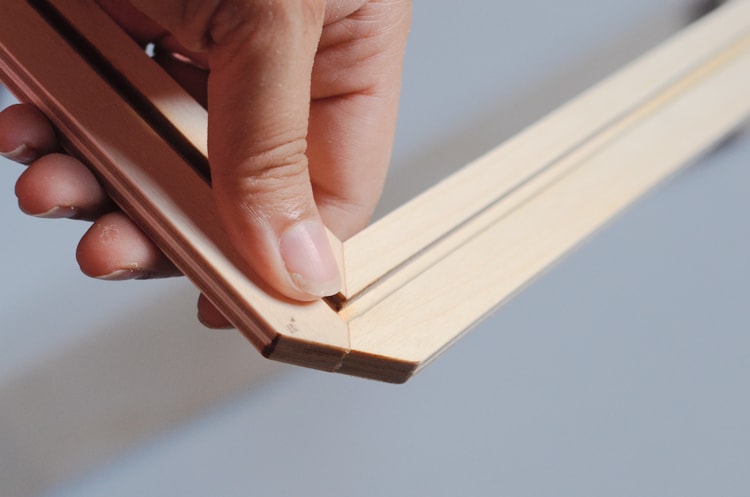
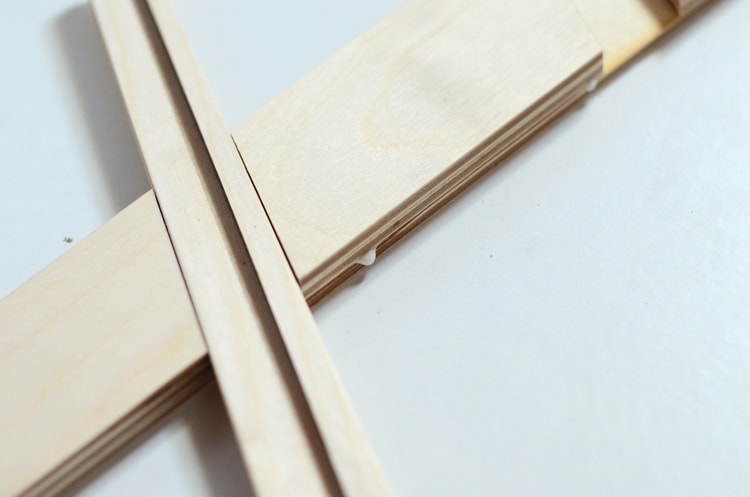
I started the assembly with the V-shaped part of the frame which will be the support for the shelves. They are made from two layers of plywood. In one layer there is a slot. Glue the two parts together as shown in the animation. Note that one leg of the V faces to the left and one to the right.
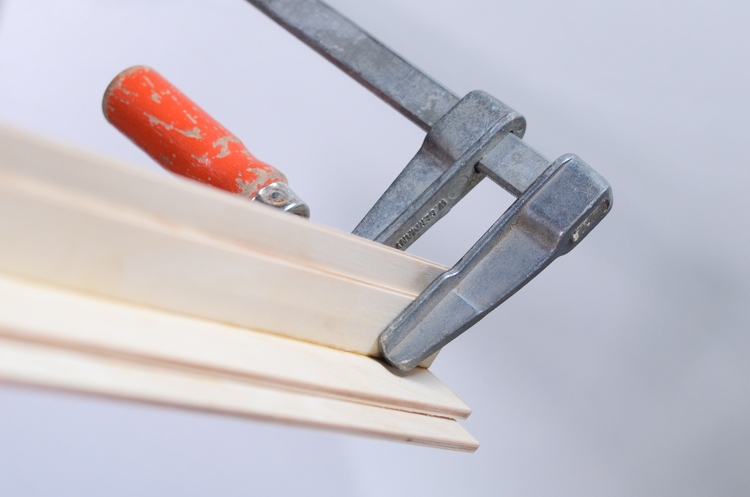
Pay attention that the edges line-up. Remove any excess glue in the slot. I used clamps to keep the parts together while the glue was drying.
Next, I assembled the legs and top of the frame. Again, note that for each frame you need one leg facing to the left and one facing to the right and make sure the edges line up.
For the top of the frame glue the three top parts together. The details of the assembly are shown in the animation.

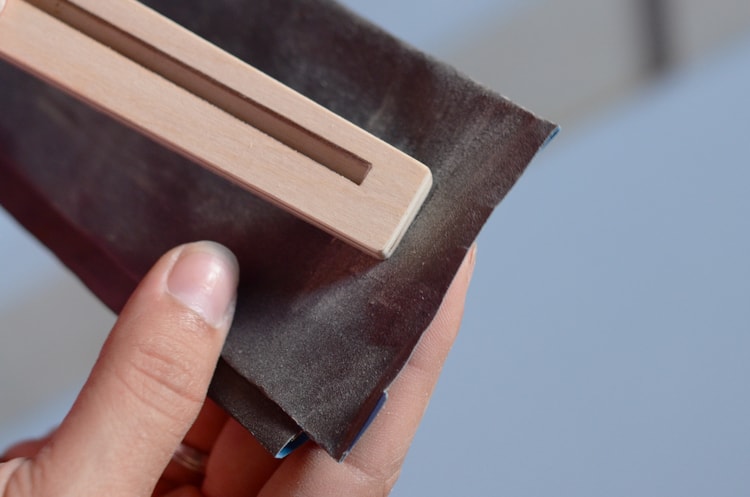
Now it is time to do some sanding. I sanded all the parts which have been glued together at this stage. Looking back the sanding was the most time-consuming task of this project. It is possible to sand everything just using non-power-tools but I highly recommend a belt or disc sander. Of course, you could also decide not to sand if you are fine with the brown edges and the rougher look of the unsanded wood.
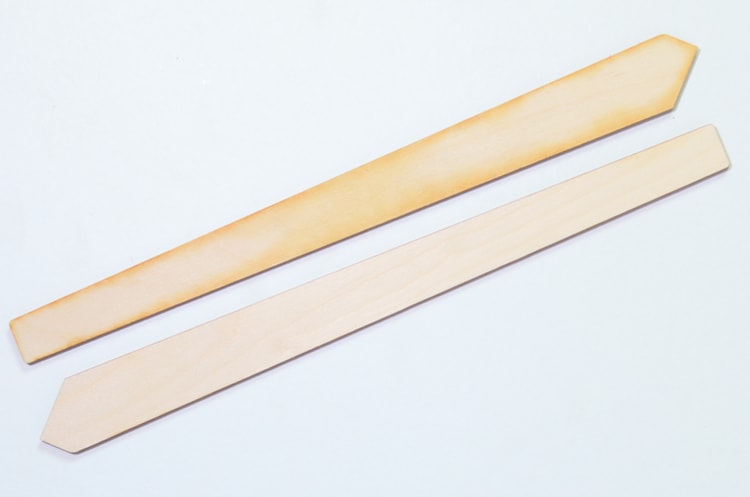
Here you can see the difference between a part before and after sanding.
Assembling the frame of the magazine rack
With all the necessary parts prepared, they can now be assembled into the frame. First, glue the legs to the middle part of the frame. Then join the left and right part of the V-shaped shelf support. It is important that the slots form a 90-degree angle. Use a set square or something similar to check the alignment.
When the glue has dried, the last step to complete the frame is to mount the shelve support on the legs and add the middle leg part.

Building the shelves
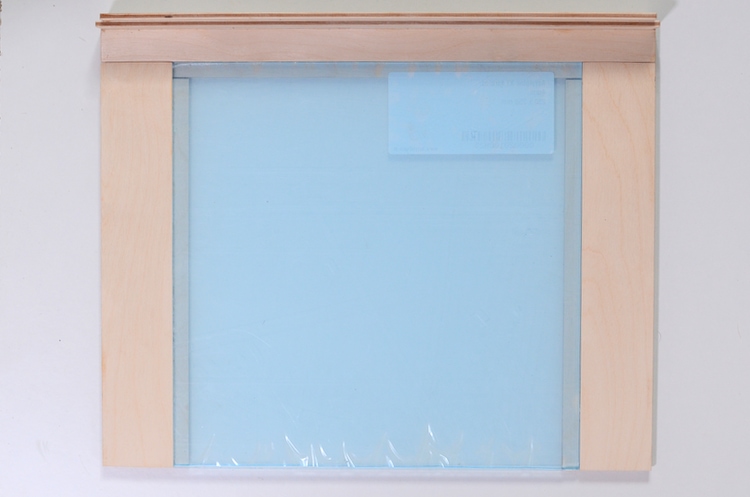
First, glue together the four pieces forming the spine of the shelve. They need to form a 90-degree angle. Afterward, add the sides of the shelves making sure that the acrylic fits in the middle.

Combining the frame with the shelves
Now there is just one final step left. Insert the tenons of the shelves into the slots on the frame and glue everything together.
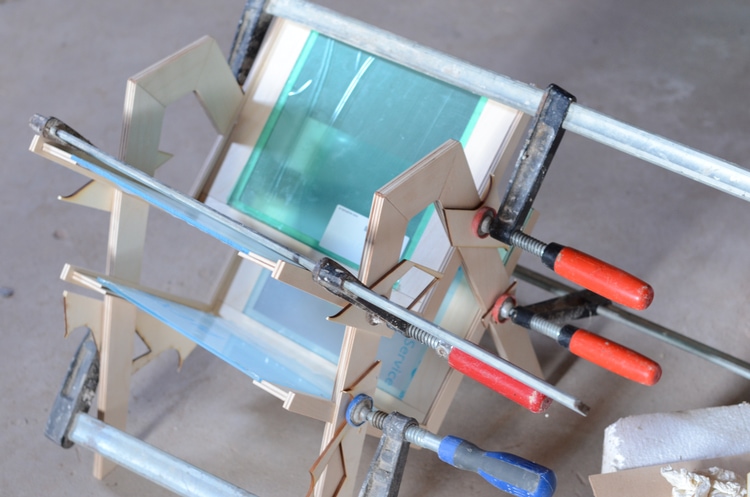
Use clamps to keep the parts together until the glue dries. As you can see in the image I added some wood scraps as cauls between the clamps and the frame. This will prevent any denting that may occur from clamping pressure. Also, pay attention to not apply too much pressure so that the shelves don’t warp.
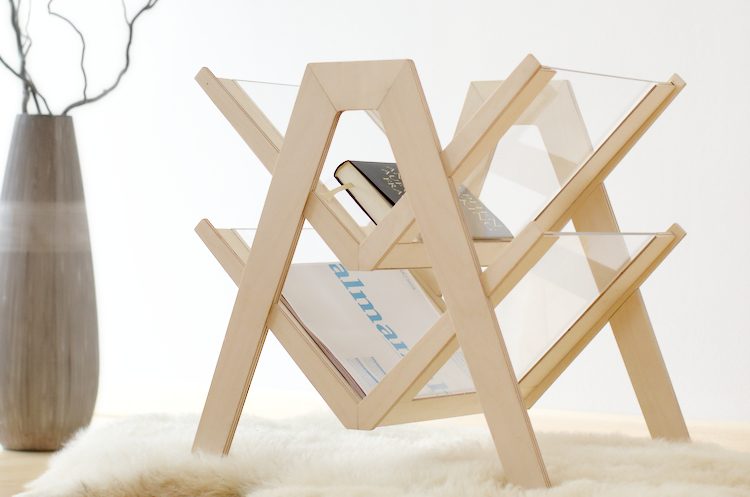
Then, all that was left for me to do was to remove the clamps and the protective foil from the acrylic and enjoy my finished magazine rack!
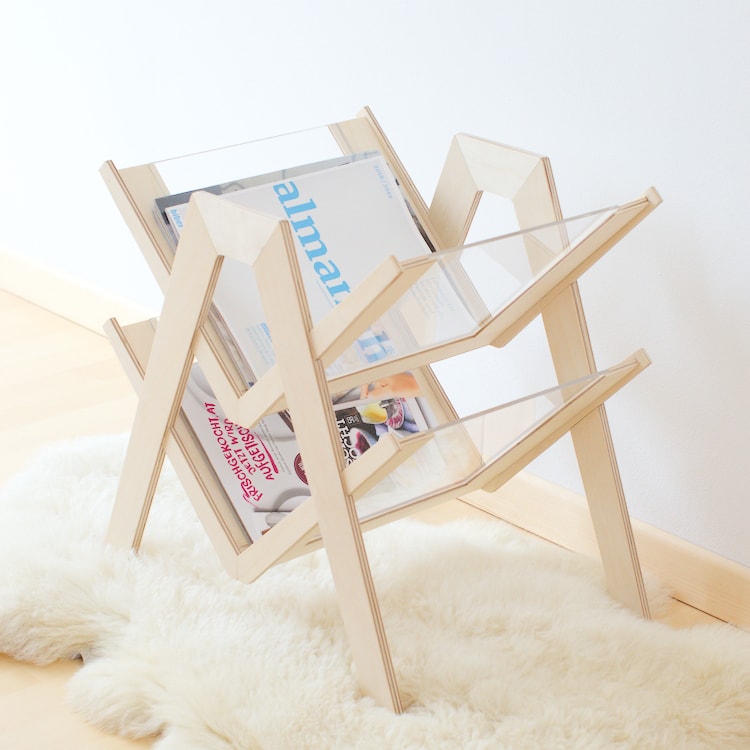

I am very happy with the way the rack turned out even though it took me much longer to make than I expected. I was a bit worried about the stability but when I loaded it with about 10 kg (22 lbs) of magazines and newspapers it held just fine.
Final Remarks
One thing I would definitely make different the next time is not dividing the design into so many single parts. My intention behind this was to optimize spacing between parts for cutting and save wood. But more parts also means having more parts to assemble.
It also increases the chance of misalignment. Especially because laser cuts are not exactly 90 degrees but slightly angled. When you glue two parts together at a 90-degree angle there is always the chance of being a little bit off and the alignment also takes time.
In conclusion, the small savings on the material are not worth it when compared to the extra work and a higher risk of mistakes.
The second thing I would make different is something I originally wanted to do but then forgot when I was in rush to finish the files for laser cutting. This is to include mortise and tenon joints to connect the legs to the top of the frame.