Plywood is a great material for laser cutting and also commonly available in a variety of thicknesses and sizes as long as you are fine with birch or poplar plywood.
For a project, I wanted to use a darker hardwood like Oak, Cherry or Walnut. It turned out that this kind of plywood is not easy to find. There are sources offering veneered plywood with an outside layer of Oak, Cherry or Walnut. But mostly it is only available with a thickness of 6 mm (1/4″) or more. The few sources I could find online were also quite expensive with prices starting at about 40 EUR per m2 (4 USD per ft2) and going well above 100 EUR.
I was already considering just staining some birch plywood to get the color I wanted. But when I went through my stock of plywood to grab some cutoffs and try different stains, my eyes fell on some sheets of Cherry veneer I bought some time ago. So I thought why not make my own plywood from these sheets of veneer?
I did not know if this would work but decided to just try and see.
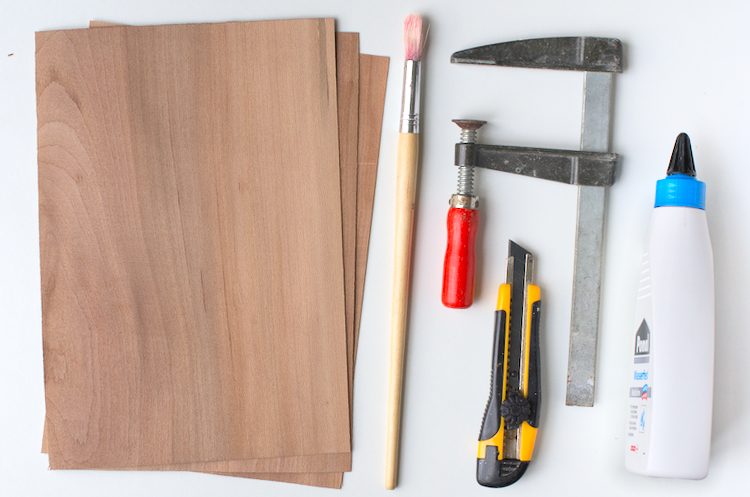
Material:
- Wood veneer
- Wood glue
- 2 Wood panels (for clamping)
Tools:
- Laser cutter
- Brush
- Clamps
How to make your own plywood?
Plywood basically is just multiple layers of wood glued together. Mostly an odd number of layers like 3 or 5 is used. For each layer, the grain orientation of the wood is rotated 90 degrees relative to the adjacent layers. The changing grain orientation gives the plywood more strength and also reduces warping.
Each sheet of the veneer I had, has a thickness of about 0.7 mm ( 0.027″). I decided to use three layers of veneer giving me a final sheet with about 2,1 mm ( 0.082″) thickness.
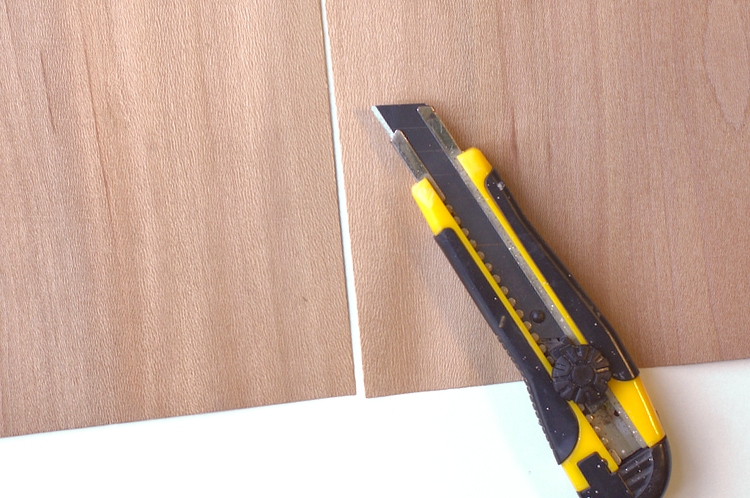
Cutting the sheets of veneer
The first step was to cut the veneer for the middle layer. My veneer was 21 x 32 cm ( 8 x 12″). The grain direction of the middle layer should be rotated 90 degrees. For this, I needed two veneers measuring 21 x 16 mm ( 8 x 6″). I marked the dimensions on the veneer with a pencil.

Then I used a utility knife to cut the veneer. To achieve a straight cut I used a piece of wood as guidance.
Gluing the layers together
Some of my veneers had one side looking better than the other. So I marked which side should be on the inside and not visible in the final plywood. Next, I applied regular wood glue to the first sheet of veneer.
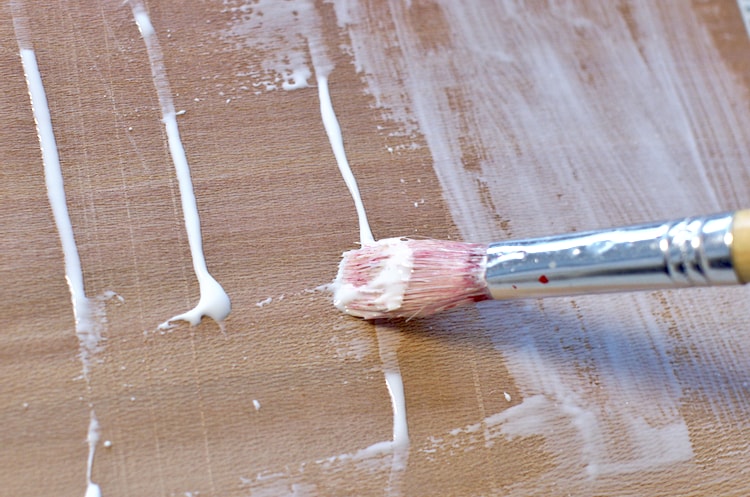
I used an old paintbrush to spread the glue evenly. Make sure that the whole area
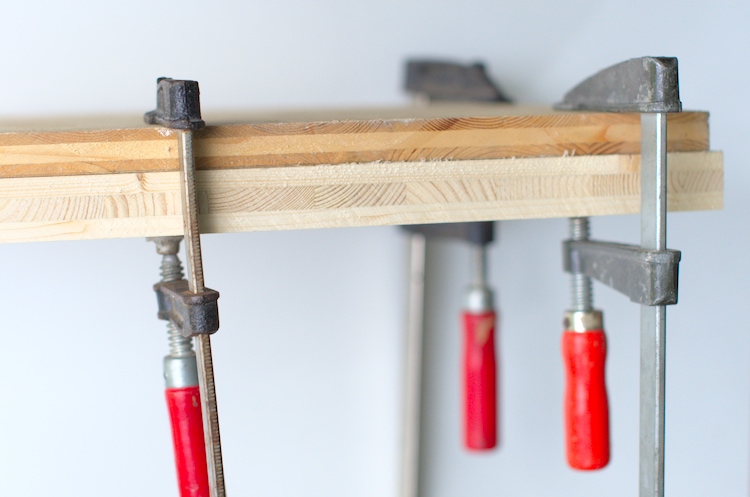
Finishing my self-made plywood
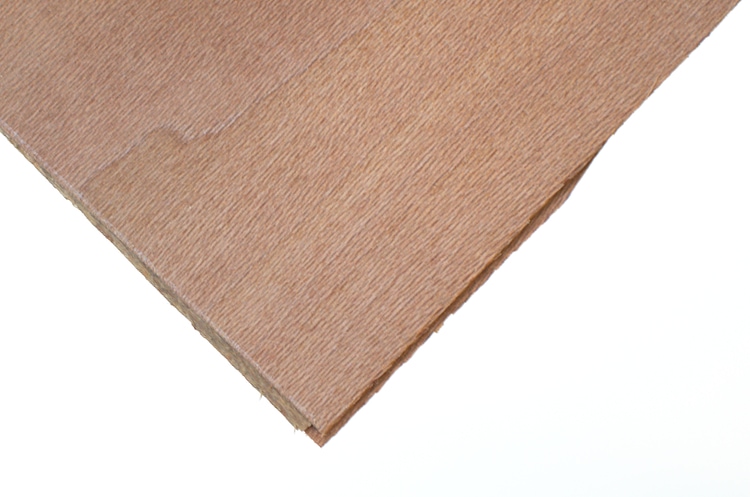
I let the clamped-up layers dry for about 24 hours. When I removed the clamps, I was excited to see how my plywood turned out. What shall I say – I really liked the result. I had made thin, high-quality cherry plywood. The last step was, to trim the edges and it was ready to be used.
Cost comparison
I paid 10 EUR for 15 sheets of 21 x 32 mm (8 x 12″) veneer, which equals a price of approximately 10 EUR per m2 (about 1 USD per ft2). For my DIY plywood, I used three sheets of veneer, so the final price was 30 EUR per m2 (3 USD per ft2) plus a few cents for the wood glue. This is considerably cheaper than any comparable source I could find online. Maybe you can make a better deal at local wood mills or when you buy larger quantities, but otherwise, this is a great option for getting plywood from unusual types of wood.
You can even save some cost when you use a cheaper wood for the inner layer. But for my project, I really liked the fact that there was not a different type of wood in the middle because the edges would be visible.