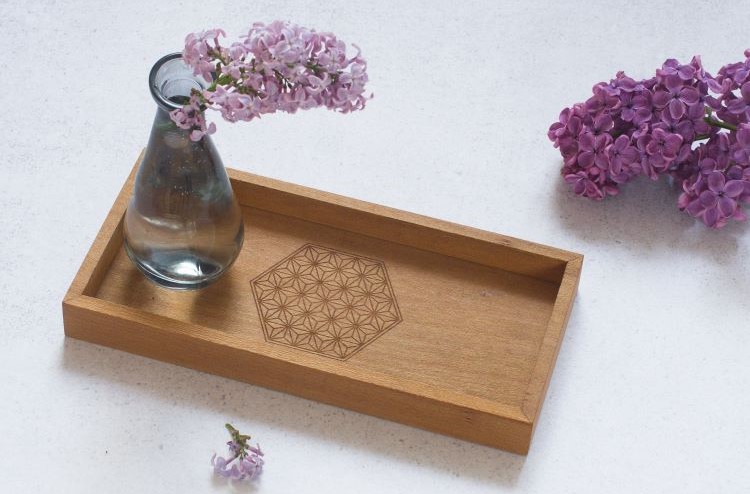
For quite some time, I wanted to experiment with laser-cut veneer, and finally, I had the idea for the ideal project: a small decorative tray.
Material:
- 6 mm Poplar Plywood
- Cherry Veneer
- Sandpaper
- Wood Glue
Tools:
- Laser Cutter
- Utility Knife
- Hand Plane (optional)
Design
The tray measures 230 x 110 mm (9 x 4.3 in) and will be 25 mm (0.9 in) high. The base structure will be made from 6 mm poplar plywood and later completely covered with veneer.
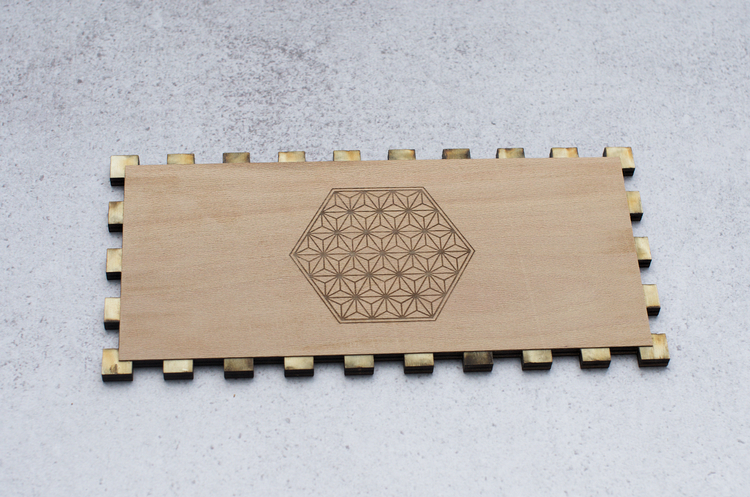
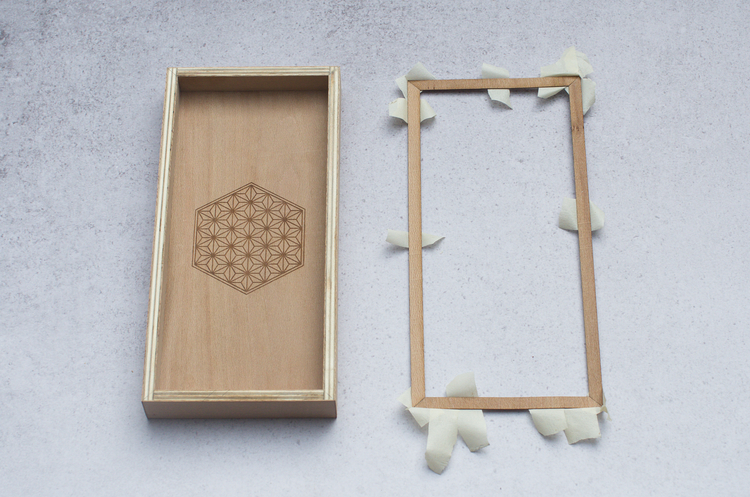
I designed the parts for the tray in Fusion360. Then I used Inkscape to draw the veneer parts. I made the veneer parts slightly larger than necessary. My thought behind this was that it’s always better to have a bit of extra material to account for slight inconsistencies when assembling. For the center, I drew a Kumiko-inspired pattern, which will be engraved in the veneer.
You can download the cut file below.
Laser Cutting the Veneer and other Parts
Cutting out the plywood was pretty straightforward. I used small magnets to hold the veneer flat on the honeycomb and also disabled air assistance, as small parts can easily be blown away and end up in places where you don’t want them.

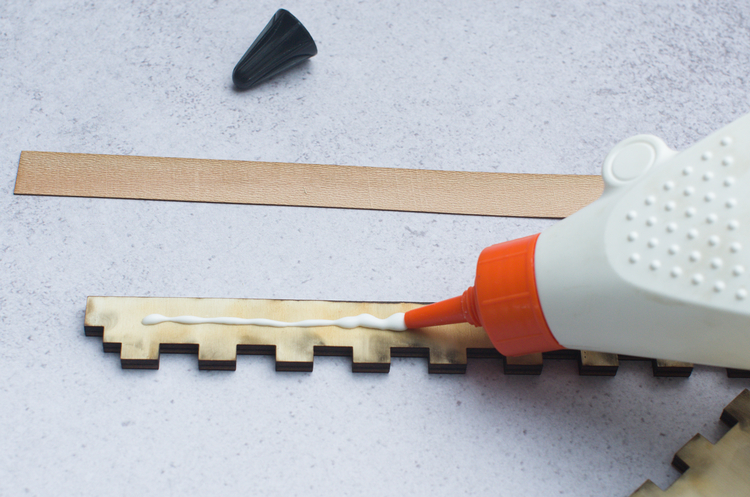
Gluing the Inside Veneer
I started with the veneer on the inside parts. When gluing veneer, it’s crucial to ensure a thin layer of glue covers the entire area. I sandwiched the parts between two even surfaces, applying pressure with clamps while the glue was drying.
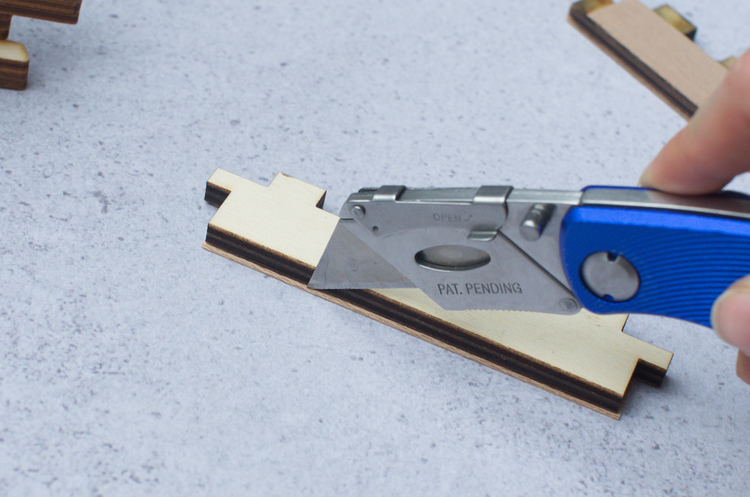
Once the glue had dried, I cut off the excess veneer with a sharp utility knife. As mentioned earlier, designing the veneer parts slightly larger than necessary was unnecessary for the inside sections. The laser’s precision, accounting for kerf correctly, could have saved me some work here.
Building the Tray
Next, I built the tray by gluing all five parts together.

Building the Tray and Outside Veneer
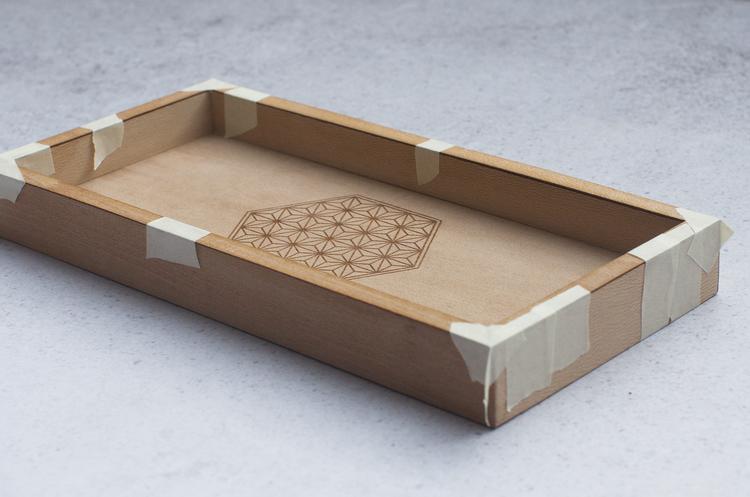
Finally, it was time to veneer the outside. This took some time because I could not glue all sides at once.
I started with the bottom, followed by the short sides, then the long sides, and ended with the top.
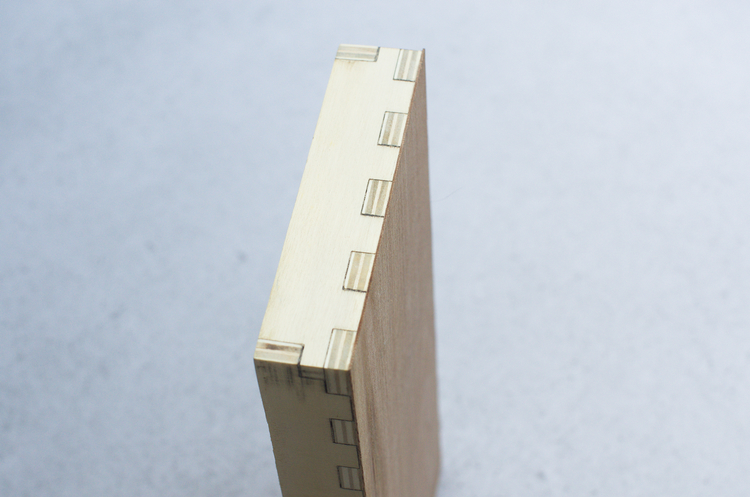
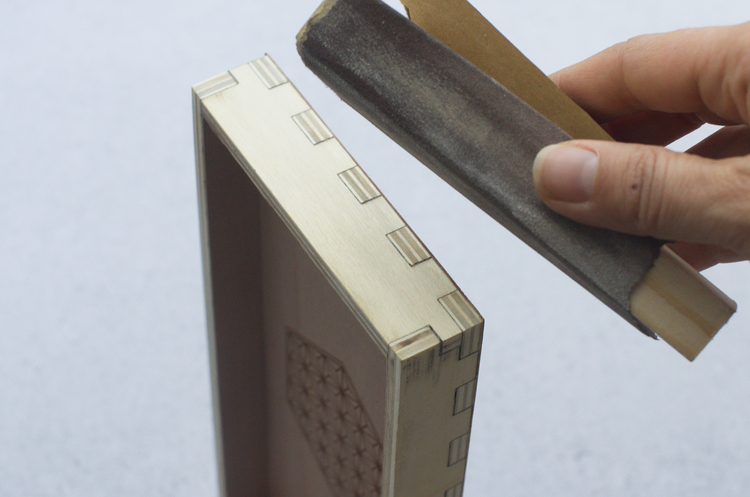
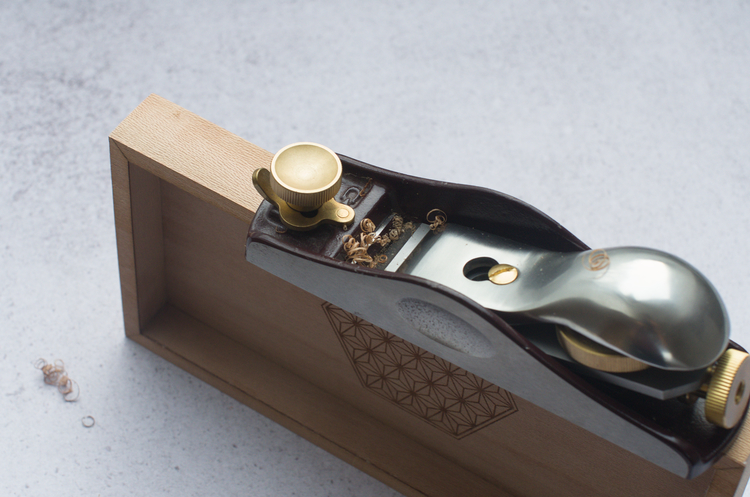
After each side, I trimmed the excess veneer using a combination of my utility knife, a small hand plane, and sandpaper. It was a slow process and you have to work carefully but I enjoyed the work!
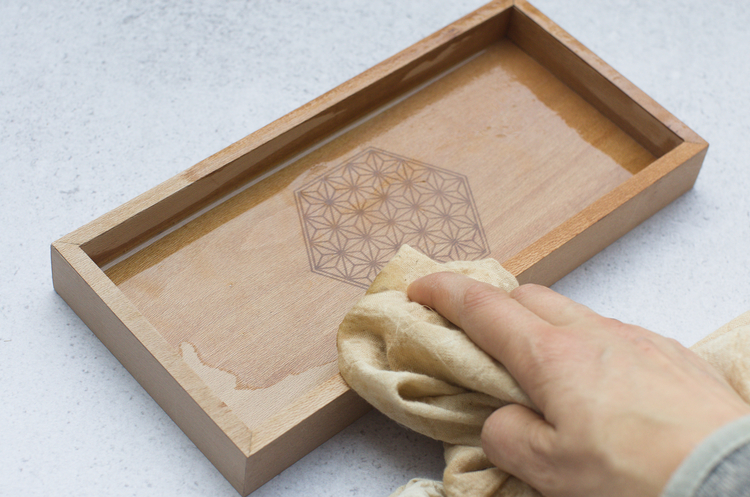
Oil finish
I finished everything with two coats of linseed oil.
Like this Post?
Sign up for the newsletter and stay updated on similar content!
