Inspired by some beautiful mechanical iris designs like this one by Chris Schaie I wanted to try if I could design one myself. A mechanical iris consists of multiple movable blades which open up a central circle when an outer ring is turned.
For my first prototype, I kept the mechanism as simple as possible. There are only six moving parts. The blades rotate around pins cut from bamboo skewers. The pins are press-fitted in the top and bottom and hold all the parts together.
Watch the video below to see the assembly and the mechanism in action.
I was not sure how well the press-fitted design would work and was a bit afraid that the parts might be too loose or too tight but everything holds together just fine. The opening and closing work smoothly. Actually, I found it kind of addicting to turn the ring and watch the movement.
Below I am sharing the template for laser cutting with you. You can download it as PDF, SVG or DXF file.
Mechanical Iris – Prototype No. 2
Because of the initial success, I decided to make a second more artistic version. In this version, the pins are made from plywood too. Each pin consists of two parts: a circular part and a straight part. The pin is inserted in the top layer and then the circular part slides on the straight part of the pin.
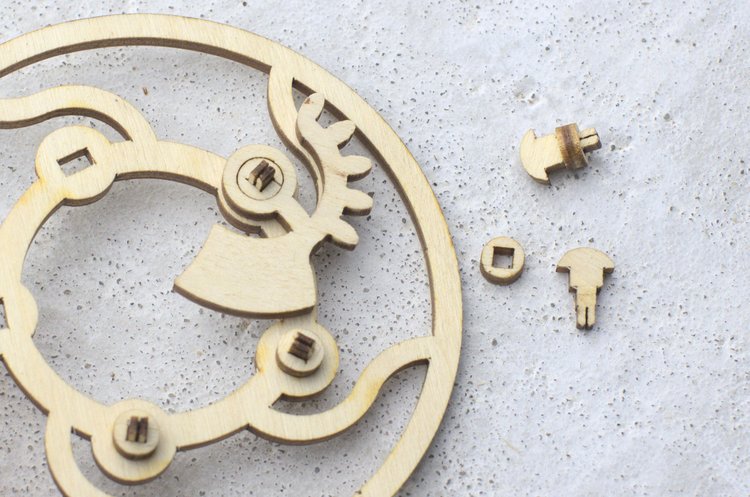
The little cut on the bottom of the pin gives the wood some flexibility, which improves the press-fit hold. The disadvantage of this pin version is that it needs more space which limits how small the iris can get.
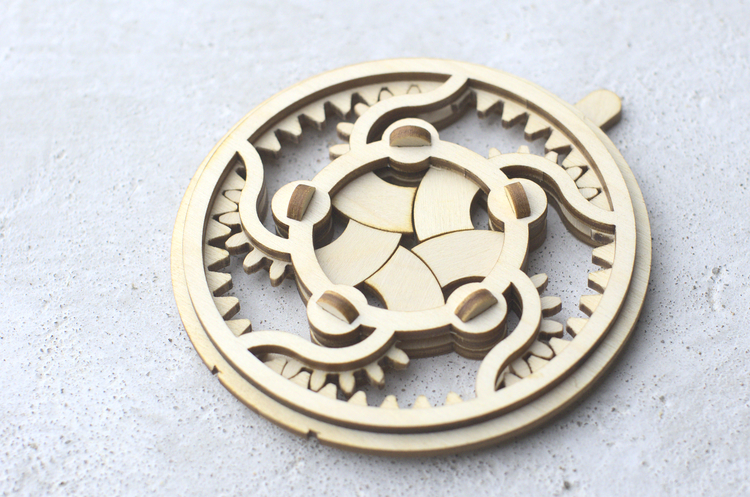
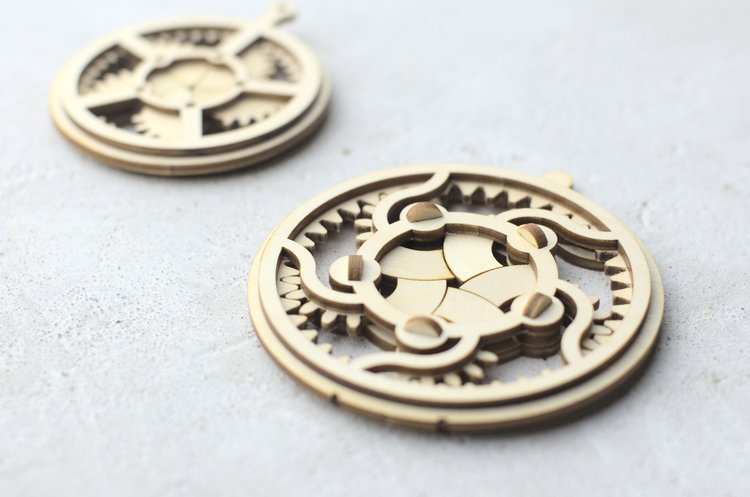
The second prototype is not really a functional mechanical iris anymore because the blades never close the inner circle completely. But I like the look which reminds me of a Celtic knot design.
I really had fun playing around with variations of the shapes. After I figured out the basic working principles, they are easier to make than I expected at the beginning. They are also easy to assemble and mesmerizing to watch.
I definitely plan to make more irises in the future. I think making them part of the opening mechanism of a box would be really cool. What do you think? If you have any other ideas on what I should make, just drop me a line in the comments below! 🙂
Liked this Post?
Sign-up for the newsletter and stay updated on similar content!
An elegantly simple design. Nicely done. I’ve made an iris box in which the body is a cylinder and the top is the iris. Not as simple as this design, however.
Thanks! The cylindrical box sounds interesting. Do you have a picture of it somewhere online?
I should have been clearer. I’ve constructed someone else’s design of a cylindrical box:
http://www.thingiverse.com/thing:2704046
I’d also like to add that sanding the plywood with high-grit sandpaper and adding a bit of paste wax makes the box action much smoother. The first one I built was challenging to open and close. The last one (of five or six) was sanded and waxed and opened with a fingertip.
Thanks for the link! Sanding and using wax is a great tip, I will try that on the next version I make.
Wow. Thank you for the design templates. I am late to lasers and designing, is there someplace I can go to learn how to draw the iris? Thanx,
You’r welcome 🙂
I designed the iris in Fusion 360 which is a 3D CAD modeling software (you can get a hobbyist version for free). I learned designing mostly from Youtube tutorials and by trial and error.
If you are new to CAD modeling you could start with this beginner tutorial: https://www.youtube.com/watch?v=Izh99EnGLGw&list=PLHEouj-sdEJEm_xextUwnfhRJEdUs2hn4
Here is one that’s specific for laser cutting: https://www.youtube.com/watch?v=HjXnGby1H_A
And this one shows how to design a mechanical iris mechanism (different from mine): https://www.youtube.com/watch?v=wyNxPkUkCFc&t=510s
Hope that will help you a bit.
Oof. Tried to make these. You need to engrave some spots on where the first cog spike of the iris need to go. This thing just would not come together for me.
Definitely something to to consider for the next version! A small mark would make assembly easier. Thanks for the comment!